Quickstart
1. UI

EzGitDoc interface is split into two sections. Elements that can be created on the page are listed in the sidebar. Area that takes the most space(white rectangle) also named working space, is a place where all rendered elements are stored during the process of making prototype.
note
Clicking one of the elements from sidebar or using exact key combination triggers modal in which you will need to pass some information in order to create chosen element.
1.1. Themes
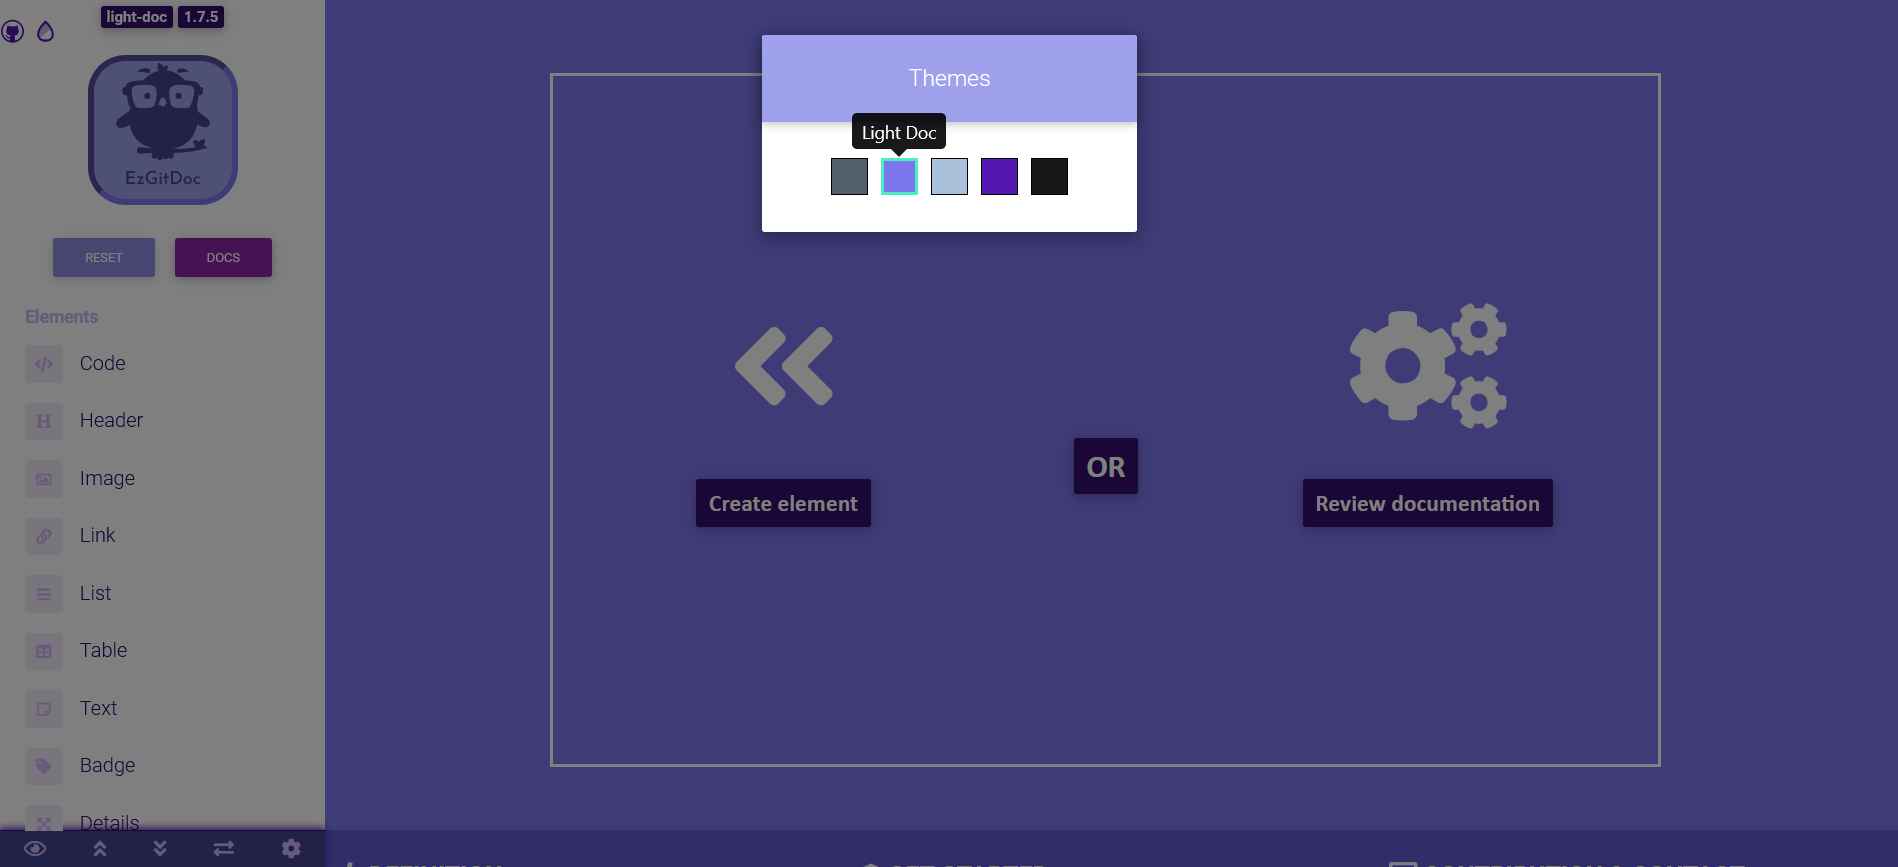
Since version 1.7.5 release, you can personalize EzGitDoc look with some predefined themes including dark and light ones. To access theme picking modal, use droplet icon positioned in the left top corner of the sidebar. Image above demonstrates light doc theme. You can also create your own theme that will fullfil your expectations.
1.2. Sidebar
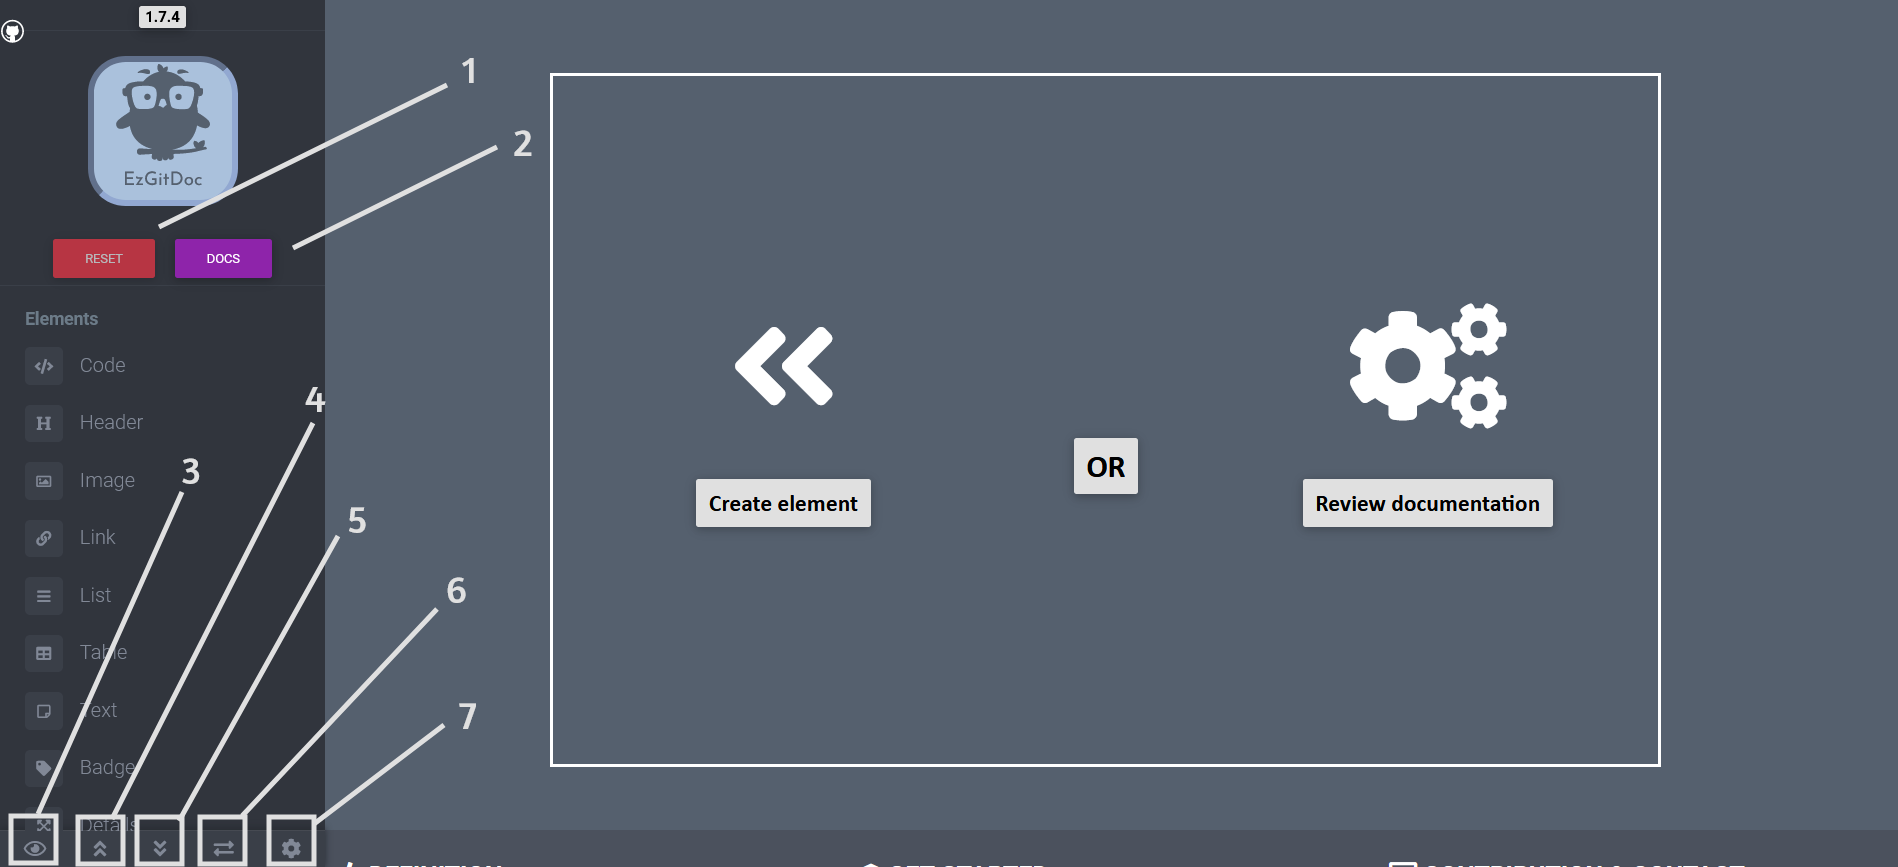
Sidebar besides holding all references to elements that can be created within EzGitDoc, has some useful tools that have been marked on the image above and explained below.
[1] RESET
RESET button allows you to remove all created elements and clear working space. This operation cannot be undone and needs to be confirmed, so don't worry if you click it by mistake :)
[2] DOCS
Clicking on DOCS button results in opening new tab in browser with EzGitDoc documentation.
[3] FULL PAGE PREVIEW
Click on EYE icon to get full working space preview and hide sidebar.
[4] SCROLL TO THE TOP
If you click on DOUBLE UP ARROW icon, you will be moved to the top line of working space.
[5] SCROLL TO THE BOTTOM
If you click on DOUBLE DOWN ARROW icon, you will be moved to the bottom line of working space.
[6] REFERENCES
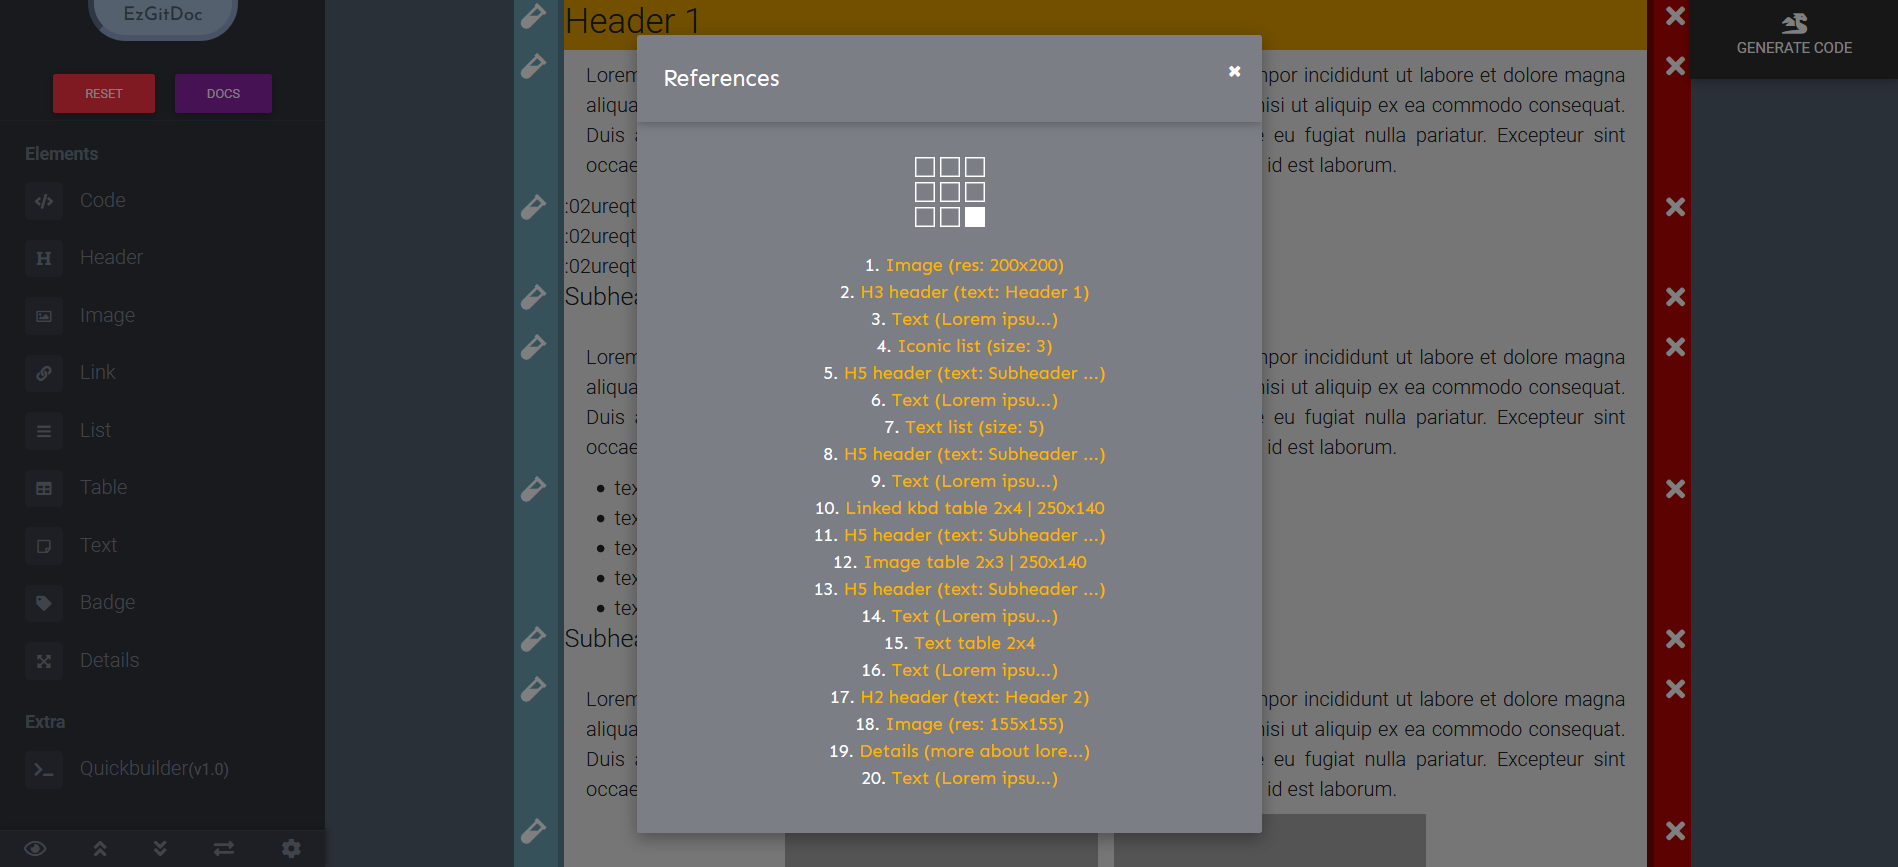
Tool added in EzGitDoc update 1.7.4 renders in modal references(anchors) to all elements created in EzGitDoc designer. It was made with purpose for biggers projects to quickly travel/move between elements. Clicked target is also highlighted for readability.
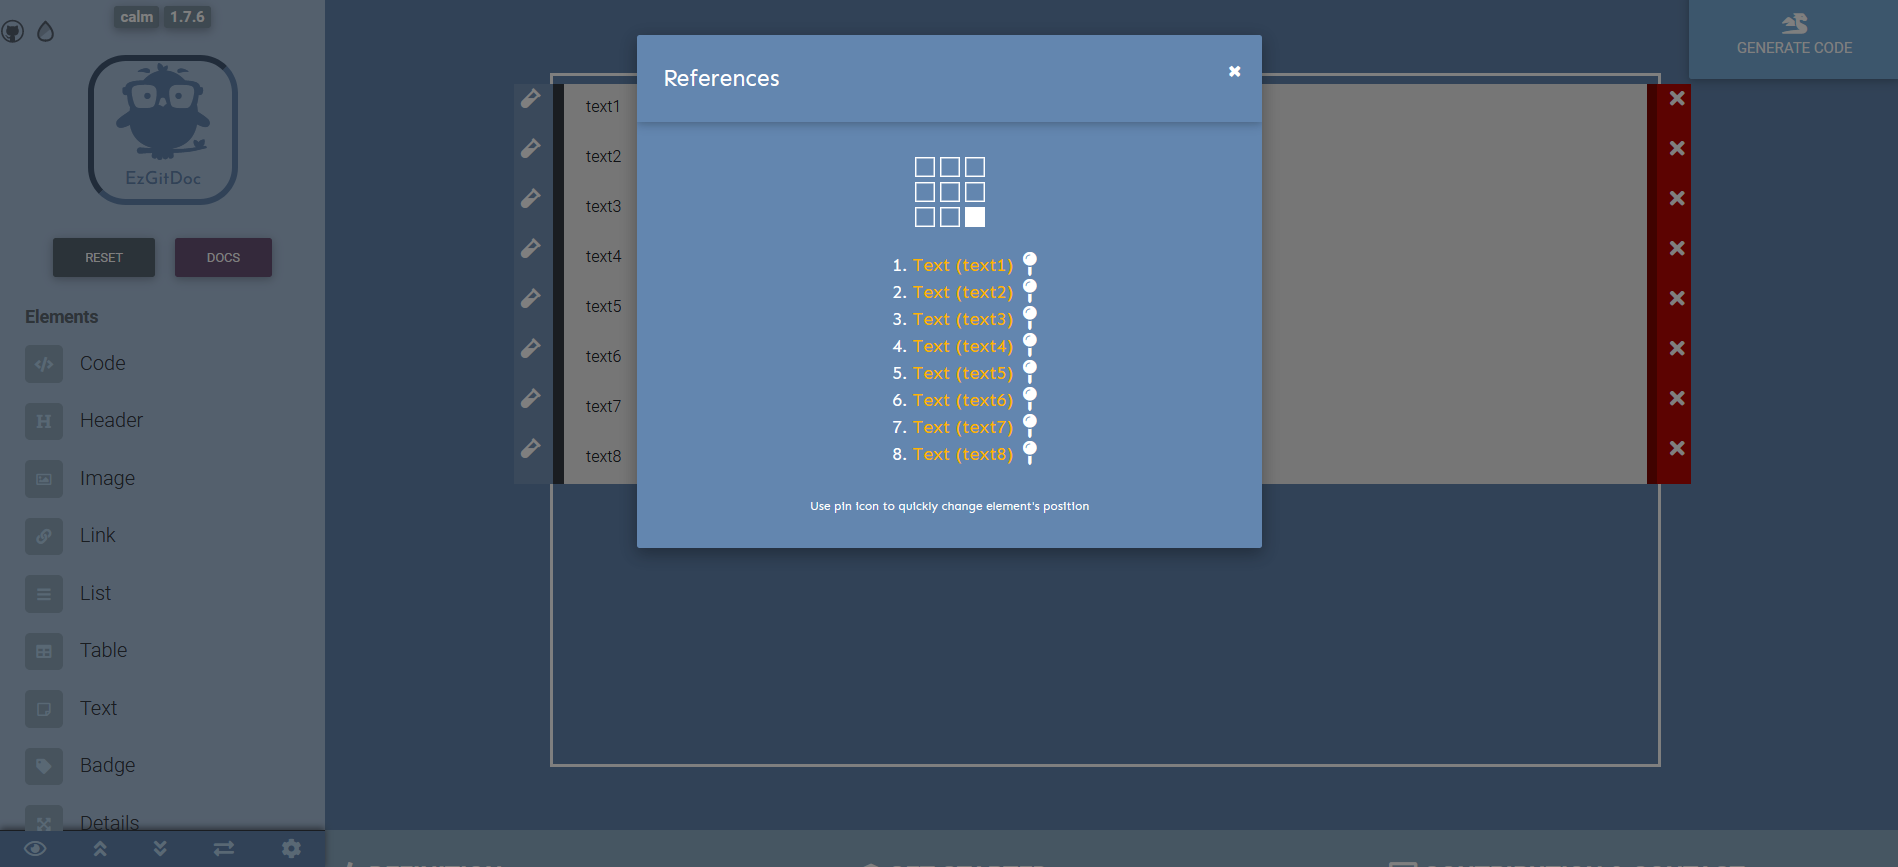
From version 1.7.6, references tool got extended with function that allows to change chosen element's position using pushpin placed next to that element. Mentioned way of placing elements can be used for e.g. as an alternative to drag and drop for bigger projects.
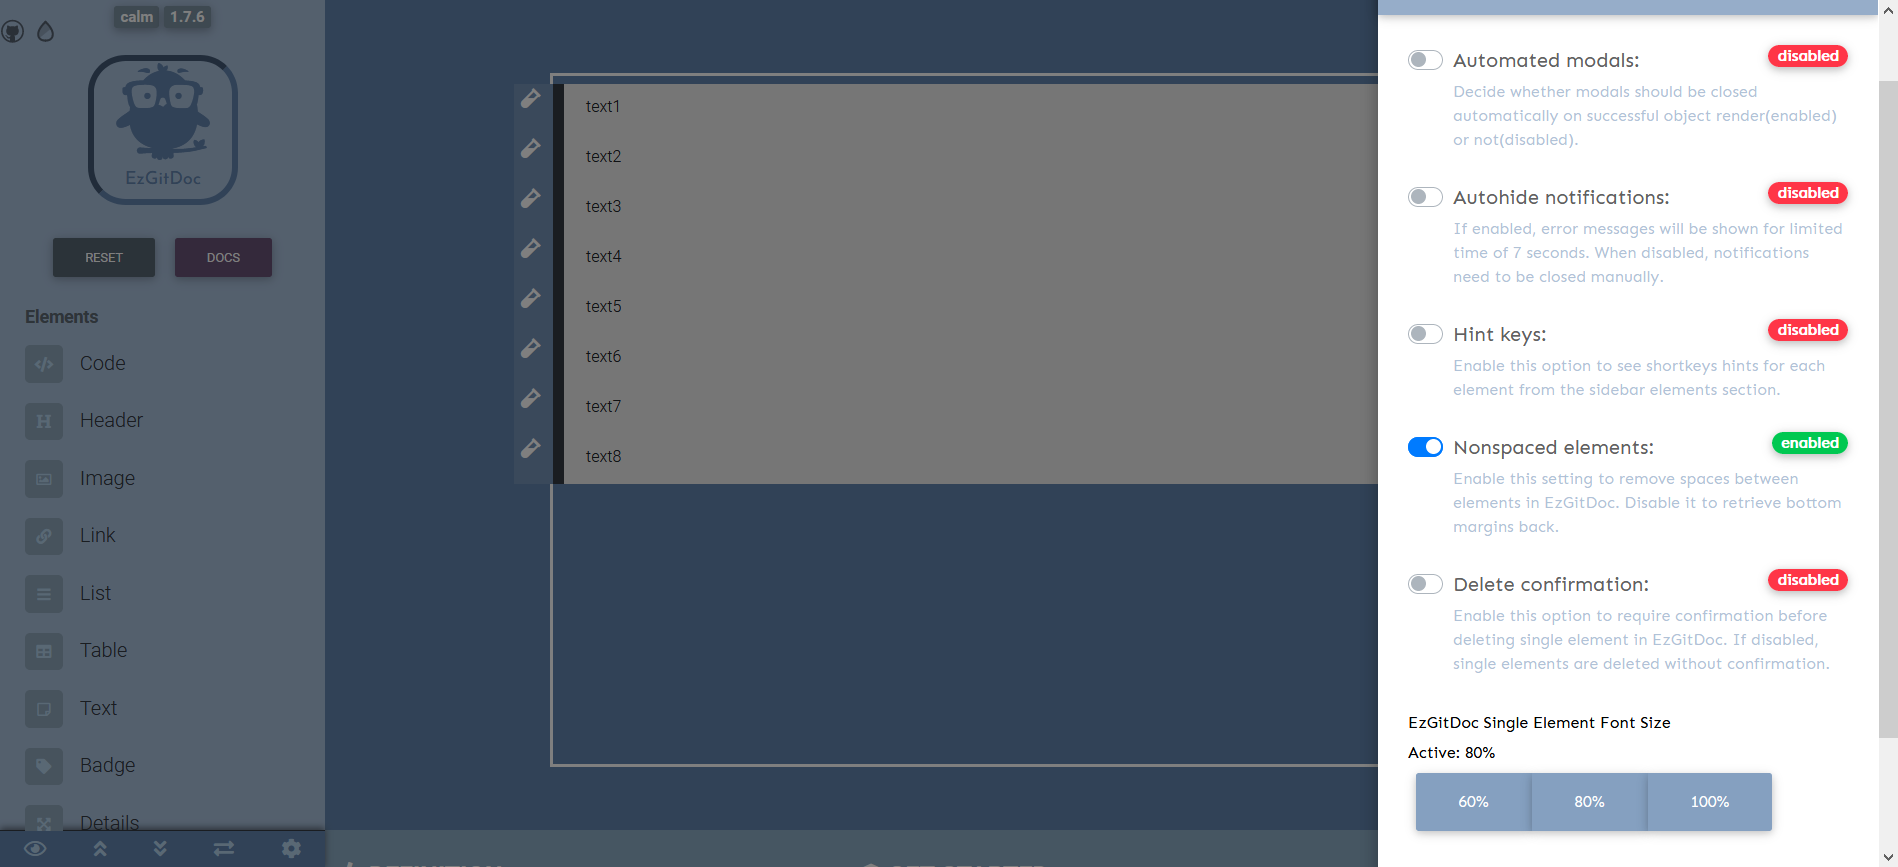
[7] SETTINGS
Click on GEAR icon to open modal with all EzGitDoc settings that can be personalized.
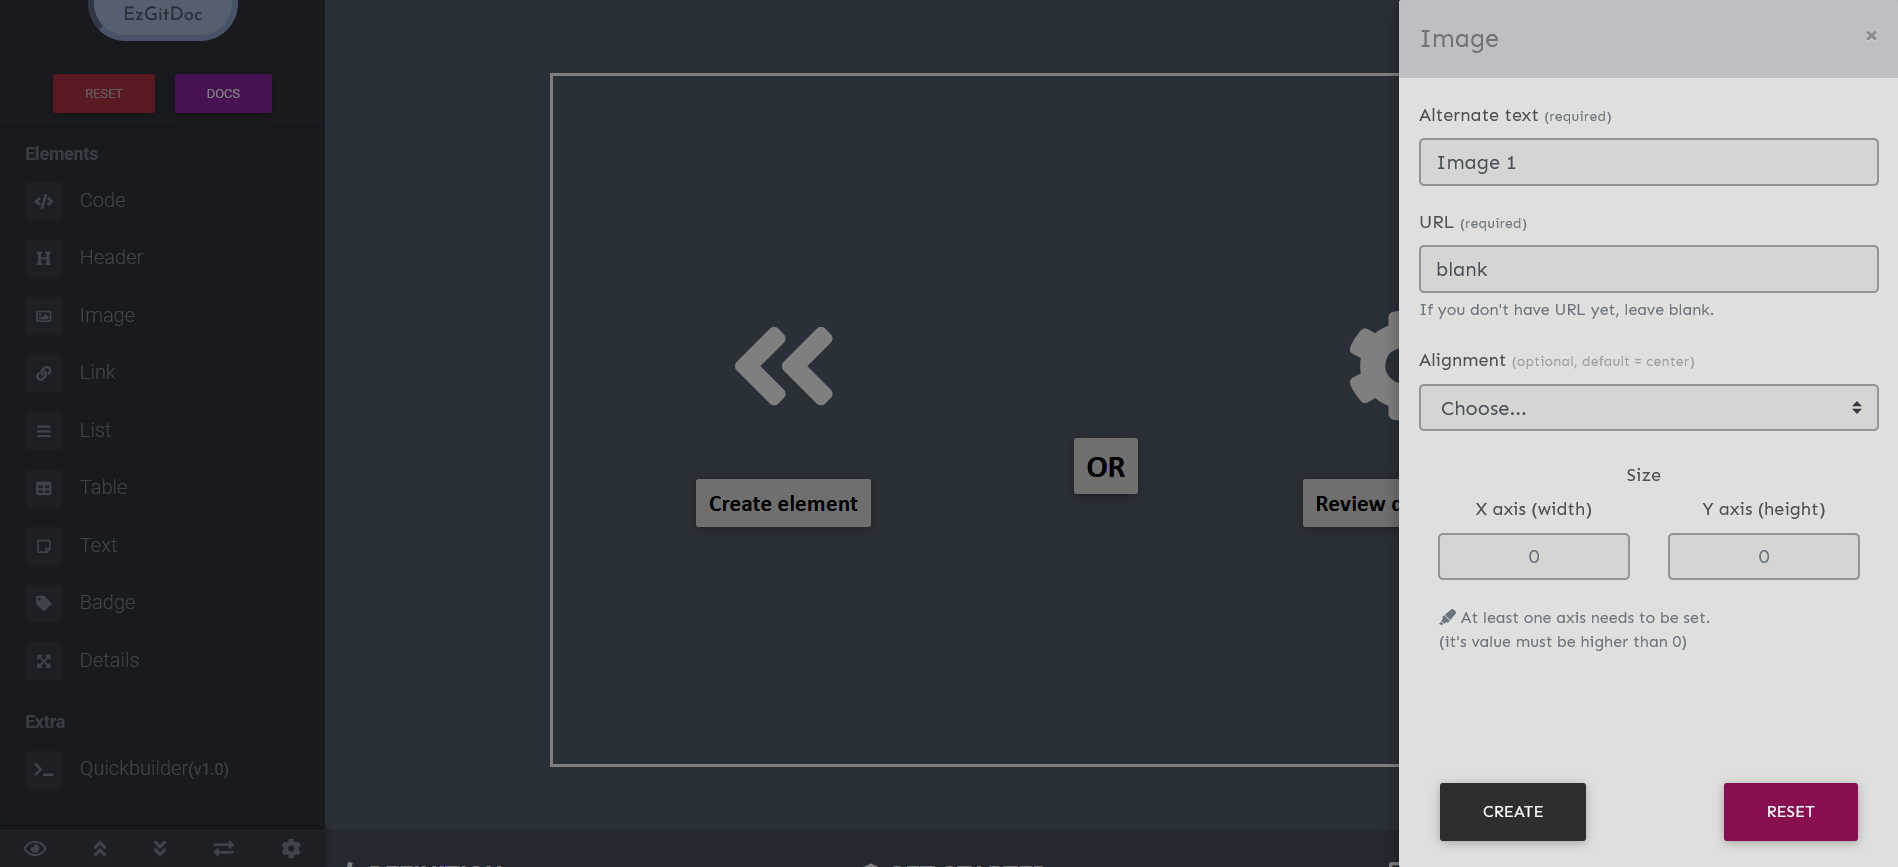
1.3. Create
Process of creating element in EzGitDoc is simple. When certain element is activated from sidebar or triggered by shortkey combination you will see window(modal) on the right side with available options. Amount of data needed to fill in depends on element's type. Screen below shows window for creating image element.
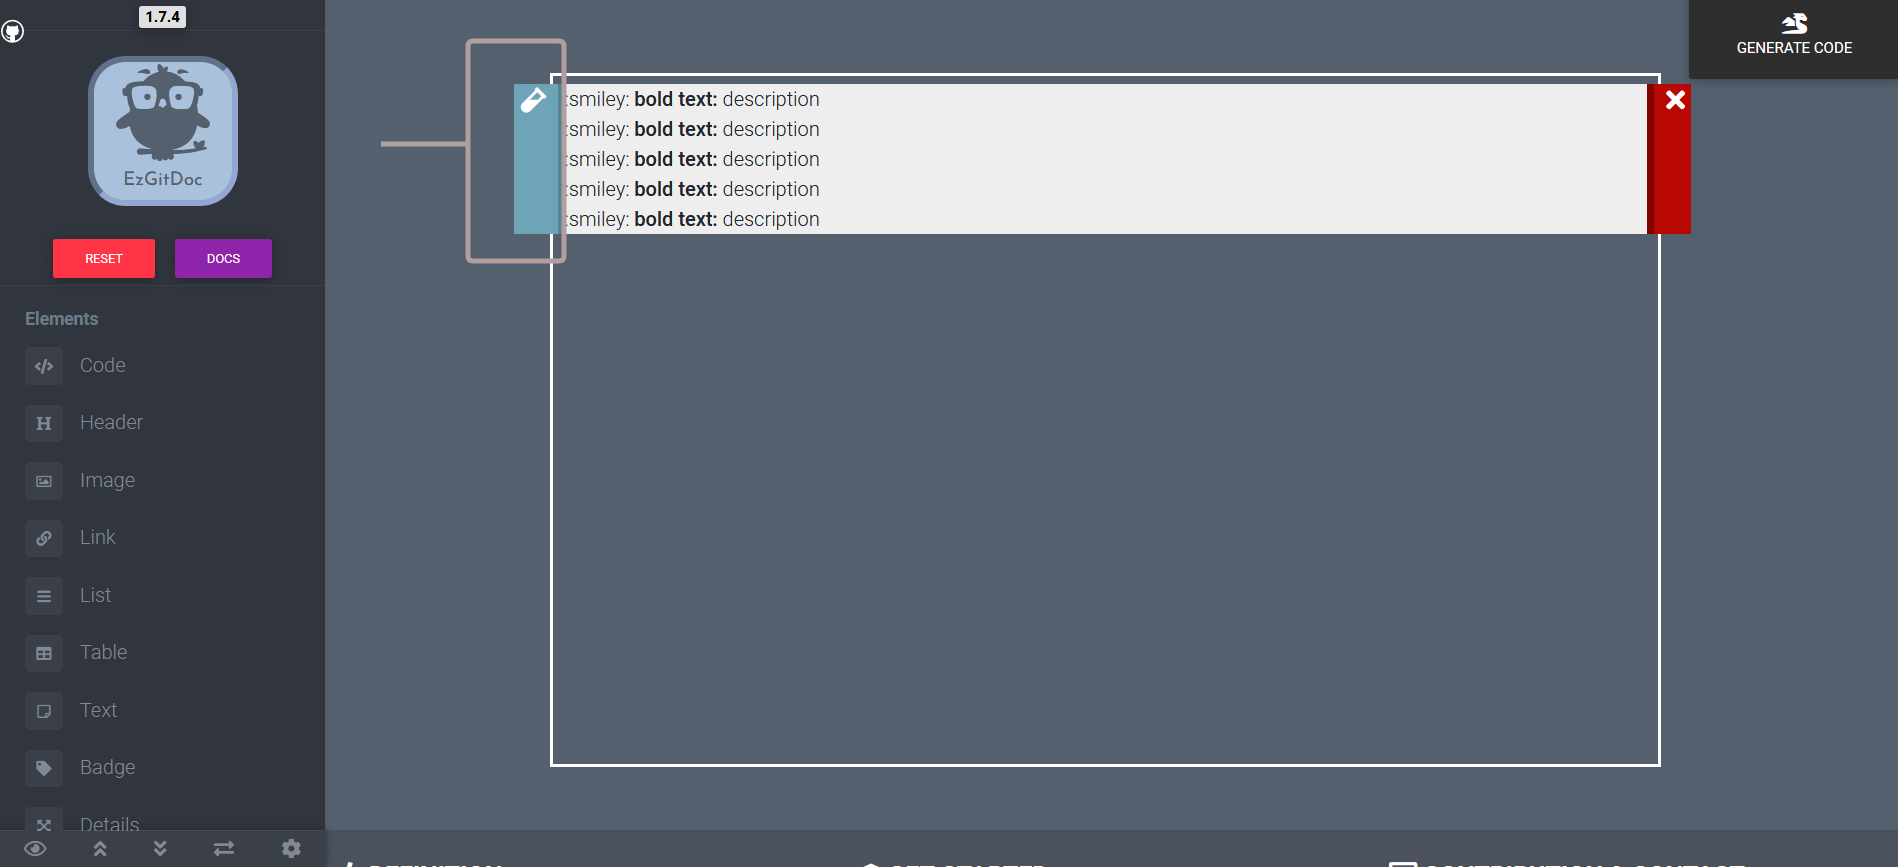
1.4. Update
To update element, click on the button placed next to the element on it's left side (marked on the image below).
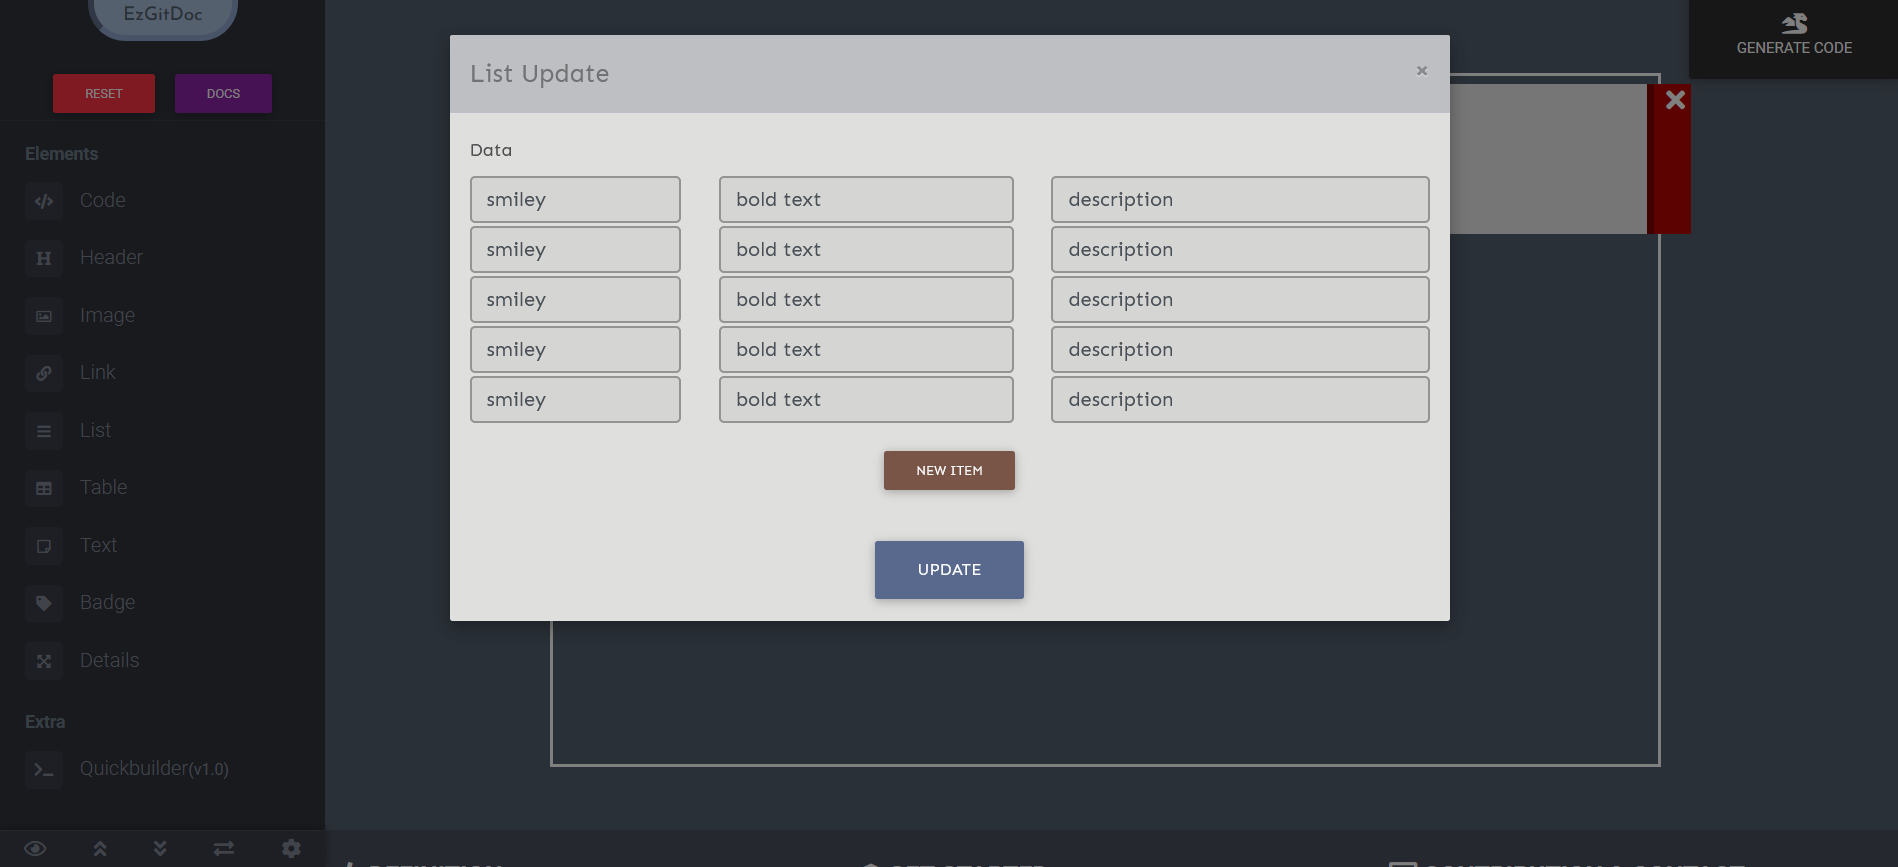
Update window layout depends on element that is updated and implementend options. Almost every EzGitDoc element's content can be updated(besides few exceptions). For table element of type image / kbd / linked kbd you can only change all images resolutions at once. Below is shown update window for table of type text.
note
If you plan on making more than one change it's worth to use update button frequently because if you click outside of the modal(update window) it disappears. Uncommited changes won't be saved and when you toggle update on the same element again, modal will be rerendered from it's last saved state.
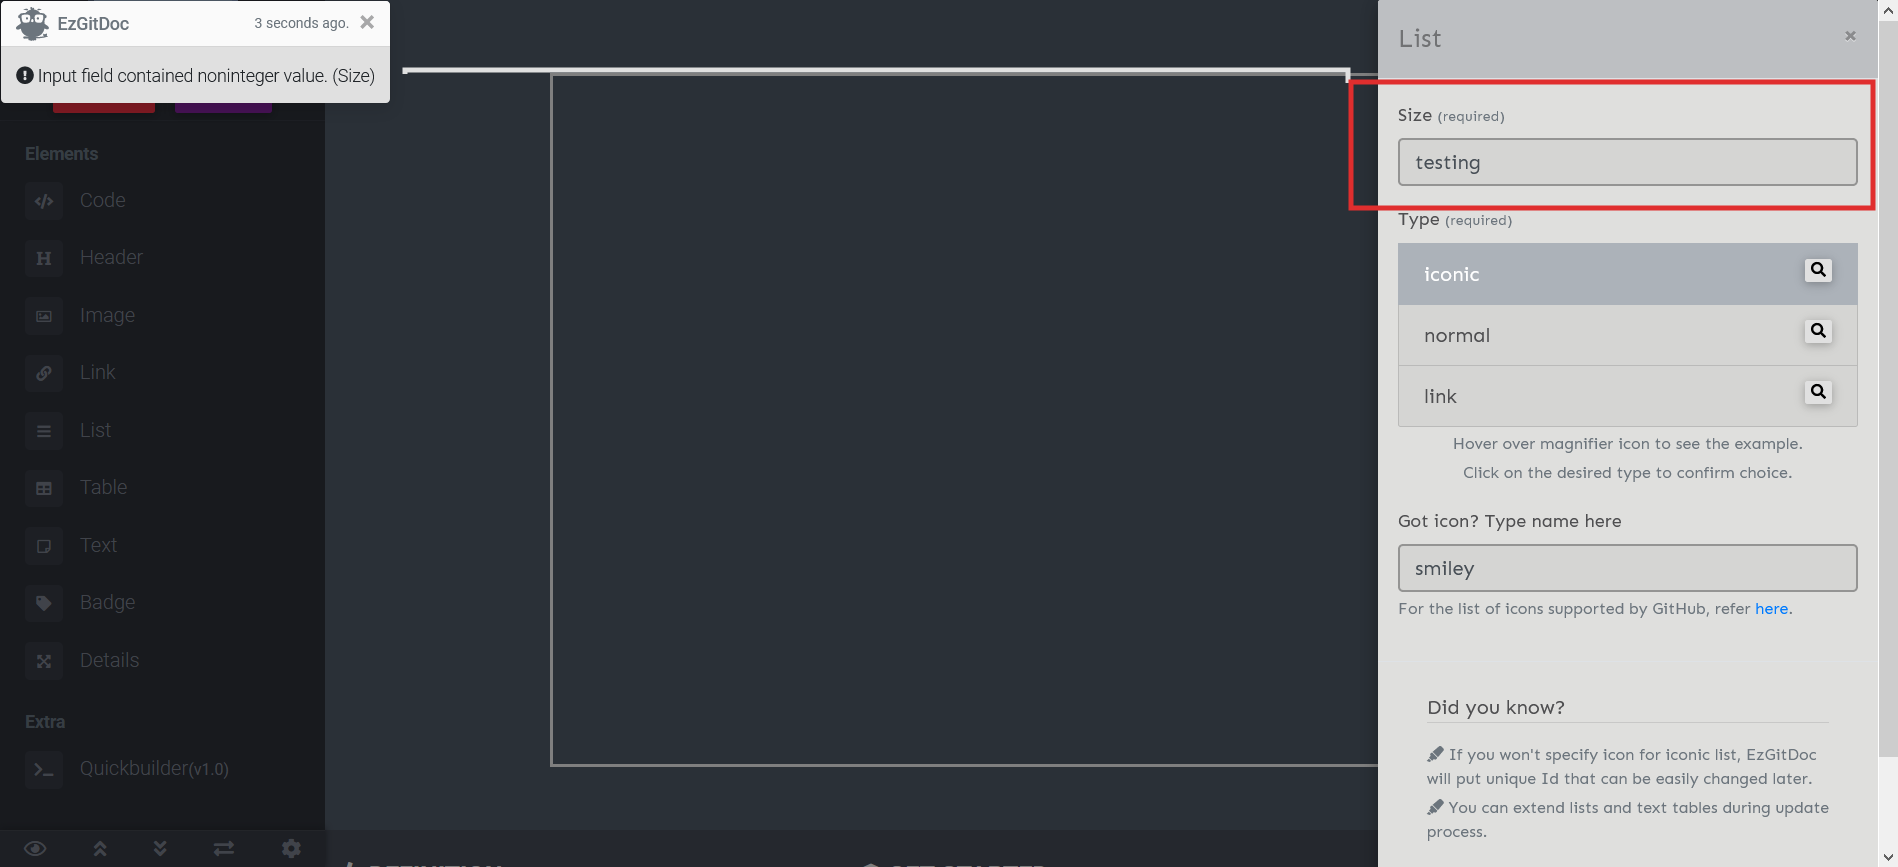
1.5. Errors
Before elements are created, required fields are validated. If given value is incompatible, empty or unexpected, notification will appear in the left top corner with details why element wasn't created. Element won't be created until errors are fixed. Example:
2. Working space
2.1. Swapping elements
If you want to swap elements positions, you can do this in two ways. First one relies on clicking with mouse button on the element you wish to move and dragging it until reaching desired position.
Second available option to perform is by using references section. Near each element there is pushpin icon. Click it, pass element's new position and confirm action. That way is more convenient for medium to big projects.
2.2. Getting output
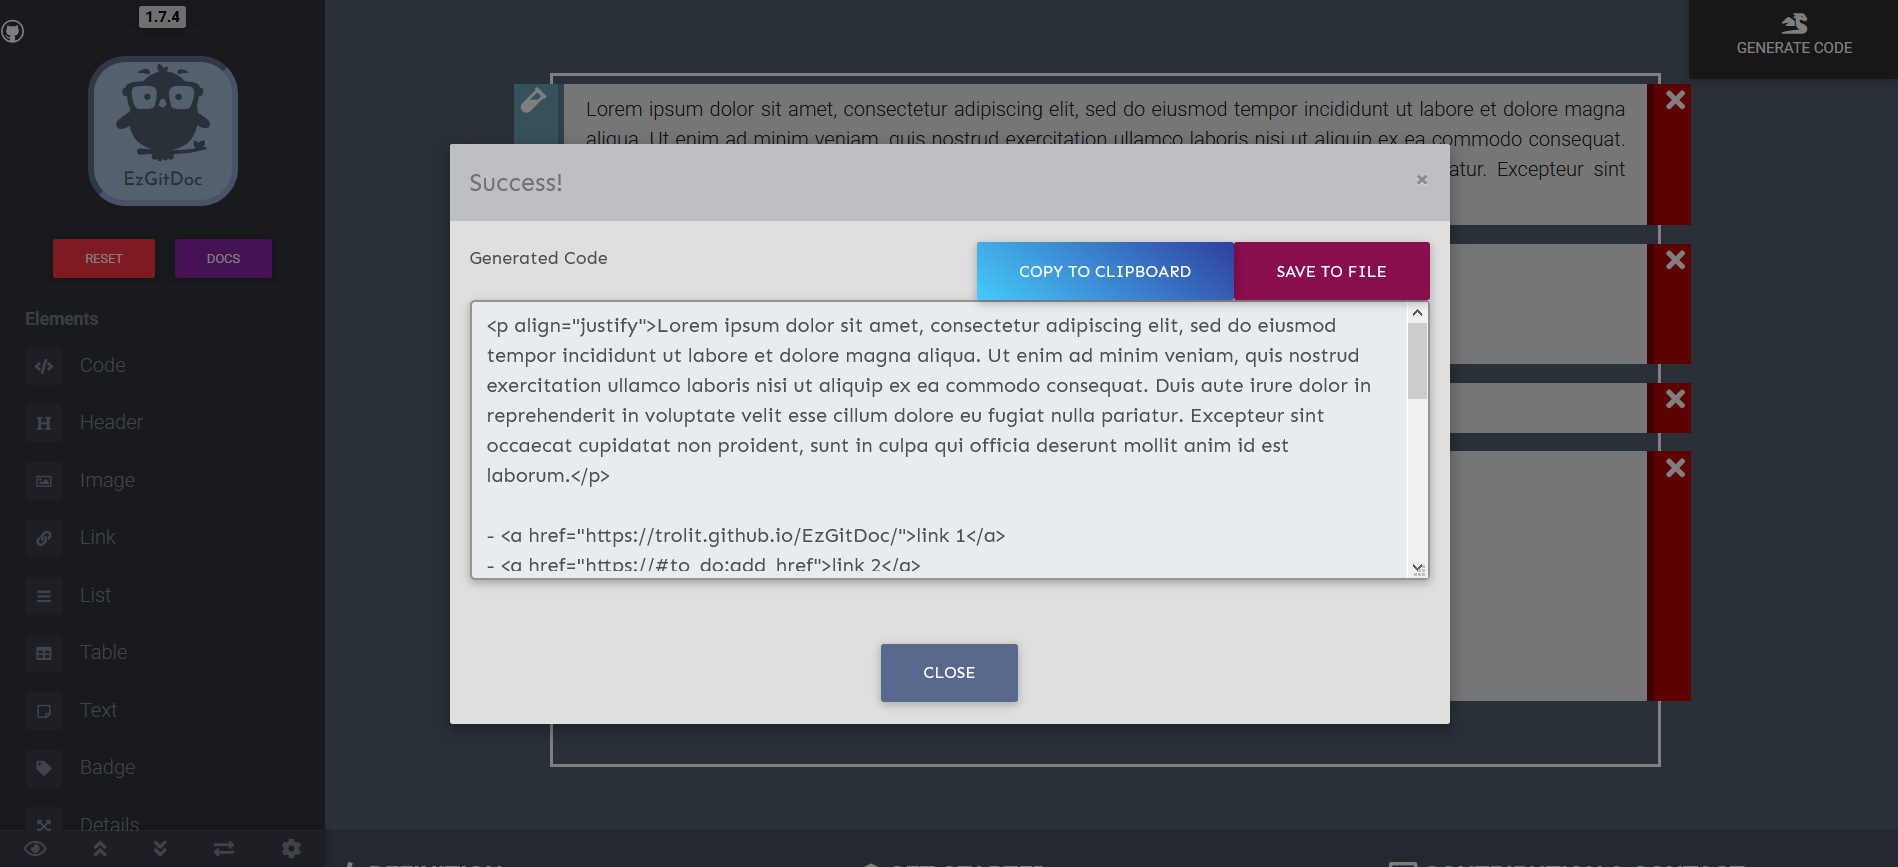
In order to be able to generate output for *.md file, you need to have at least one element created. If you do, you will notice button in the right top corner of the page called GENERATE CODE. It will generate scheme output on click, showing results in modal like in the example above. You can copy output instantly into clipboard or save it for later.